Warehouses & multi-location
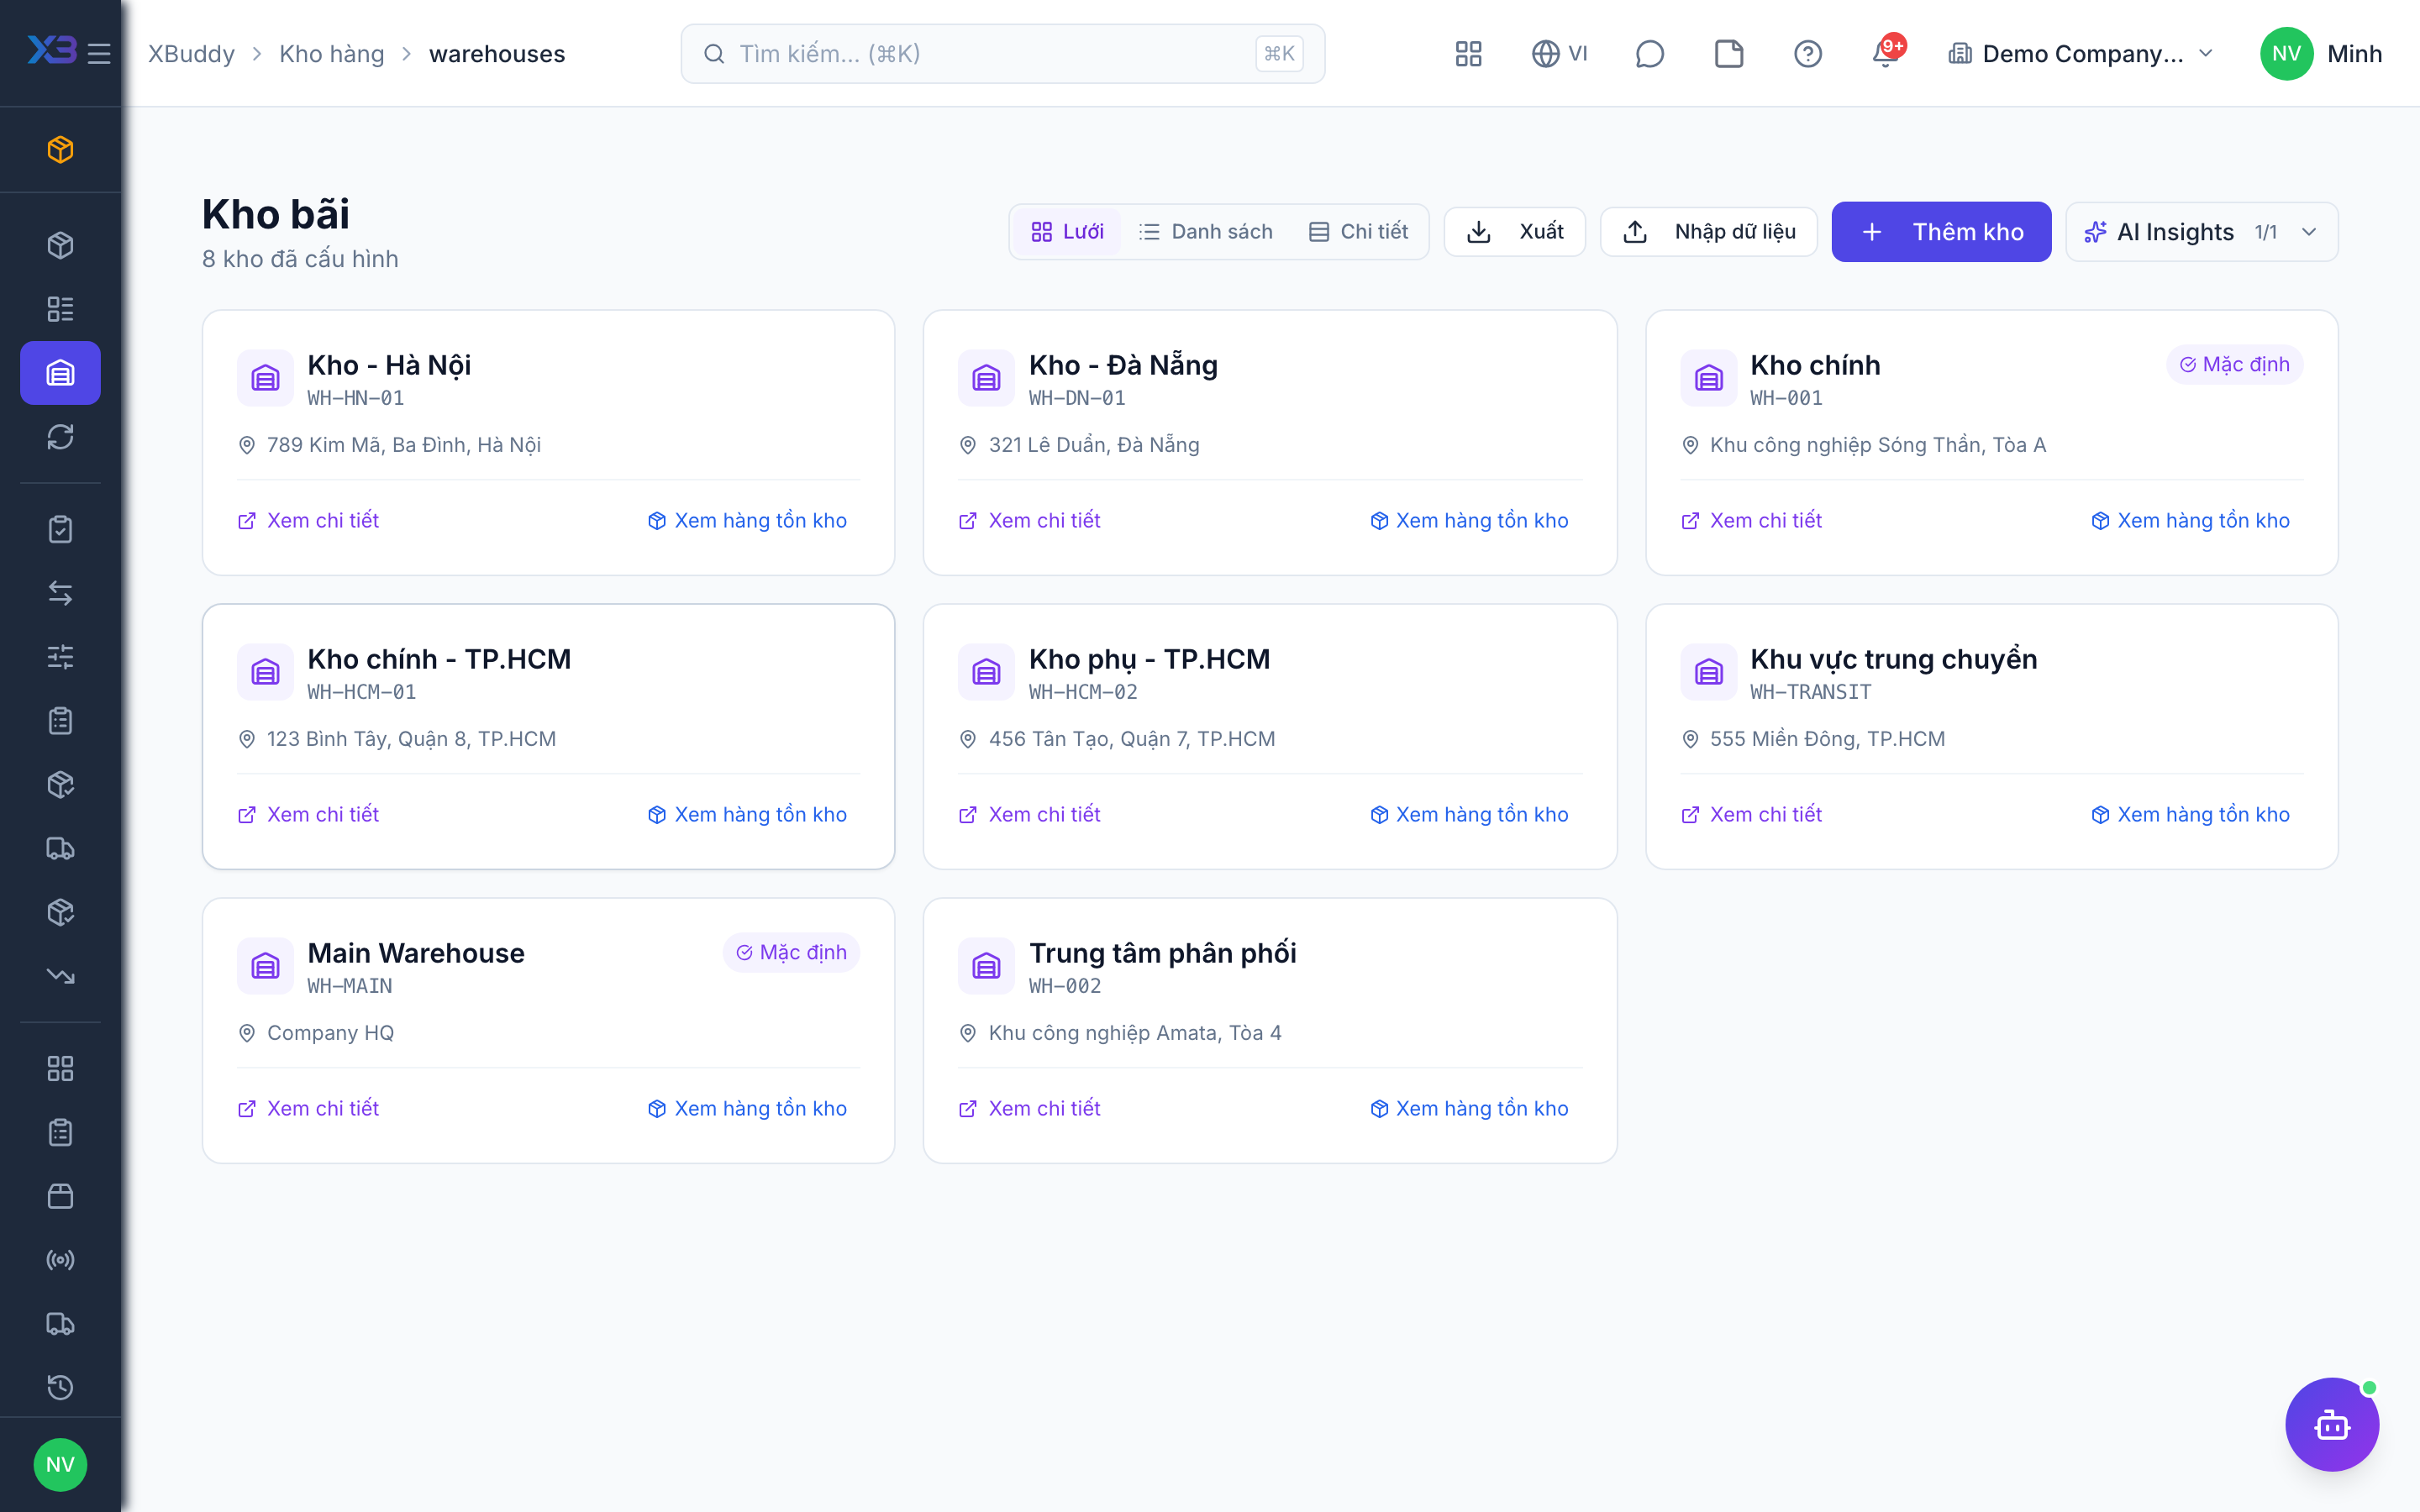
Warehouses hold your stock; each can have sub-locations. On-hand quantity is tracked per warehouse so you always know where inventory physically sits.
When to use
Set up warehouses (and bins) once, then use them as the place every receipt, issue and transfer refers to.
Before you start
- Permissions:
inventory:readfor/inventory/warehouses;inventory:adminto archive a warehouse and to change settings. - Toggles:
inventory.multi_warehouse(default on),inventory.bin_location(default off, on for new companies),inventory.enforce_warehouse_access(default off — when on, users only work with warehouses they are allowed).
Set up warehouses
Go to Inventory → Warehouses → New Warehouse, name it, and optionally add locations/bins.
Check on-hand by location
Open any item to see its on-hand quantity broken down by warehouse and location.
Limit who can use a warehouse
Turn on warehouse access enforcement if some staff should only see their own warehouses.
Archive instead of delete
Archive a warehouse you no longer use; stock history stays intact.
Tips & common mistakes
- Turn on bin locations before you start receiving, so stock is placed correctly from the first day.
- A warehouse can be limited to certain apps (for example Field Service van stock) — check this when an app cannot see a warehouse.
- Do not create one warehouse per shelf; use bins for that.
- Keep names recognisable (“HN-Main”, “HCM-Cold”) so pickers choose the right one.