Custom Fields
Custom Fields let you add your own fields to XBuddy entities — invoices, contacts, employees, products, deals and more — without any database or code changes. Once defined, a field appears automatically in that entity’s create/edit forms and detail pages, is stored with the record, and can be exported and reported on like any built-in field.
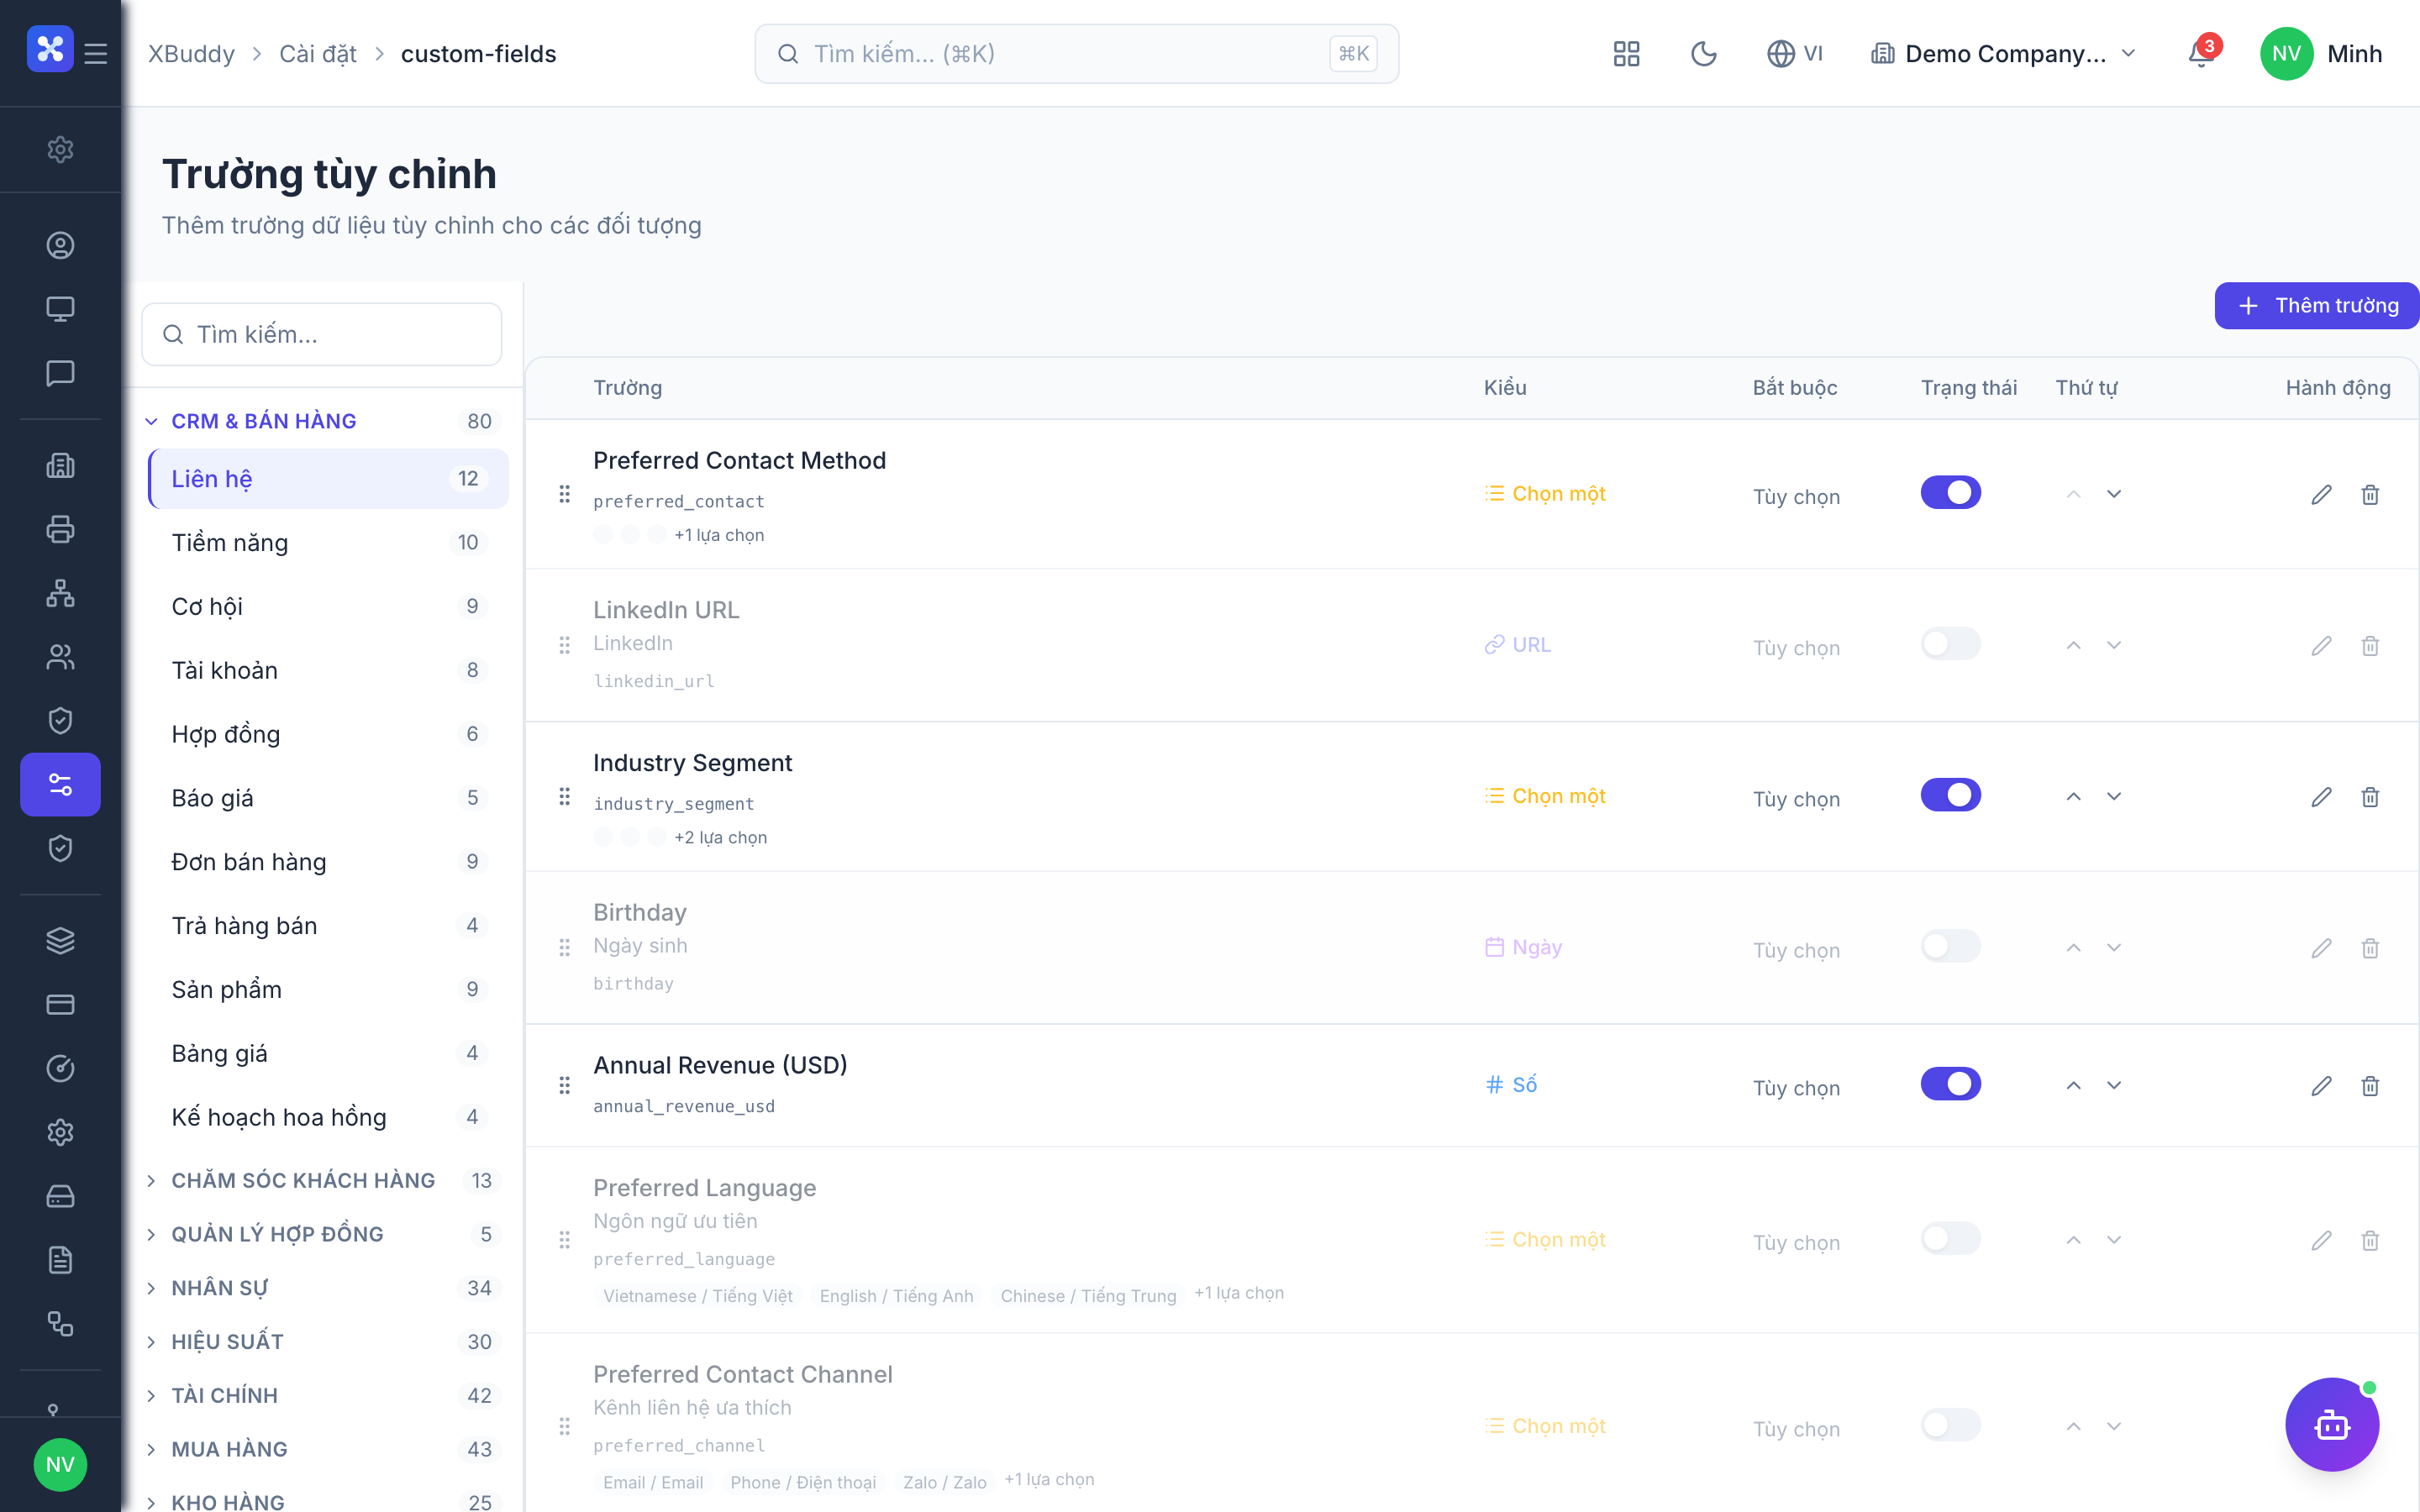
Manage them at Settings → Custom Fields (/settings/custom-fields).
When to use custom fields
Use a custom field when your business tracks something XBuddy doesn’t model natively, but you don’t want a whole new module. Examples:
- A Contract Number text field on invoices.
- A Preferred Contact Channel select on contacts.
- A T-Shirt Size or Emergency Contact field on employees.
- A Warranty Months number field on products.
Custom fields are scoped per entity type (invoice, contact, employee, product, deal, …). A field you add for contact only appears on contacts. To add the same field to two entities, define it twice.
Field types
| Type | Stored as | Input rendered | Typical use |
|---|---|---|---|
| Text | string | Single-line text box | Reference numbers, short notes |
| Number | numeric | Number input | Quantities, scores, months |
| Date | date | Date picker | Anniversaries, expiry dates |
| Select | string (one option) | Dropdown | Fixed lists — region, tier, channel |
| Boolean | true/false | Toggle / checkbox | Yes/no flags — VIP, opted-in |
Per-field validation
Each field can carry rules that XBuddy enforces in the form before the record is saved:
| Rule | Applies to | Behaviour |
|---|---|---|
| Required | All types | User cannot save until the field has a value |
| Min / Max | Number | Value must fall within the range |
| Min / Max length | Text | Character-count limits |
| Options | Select | Only the listed options are accepted |
Bilingual labels
Every field has both an English and a Vietnamese label. XBuddy shows the label that matches the user’s chosen language automatically — so a field labelled “Warranty Months” / “Số tháng bảo hành” displays correctly for both audiences with no extra work.
Create a custom field
Open the manager
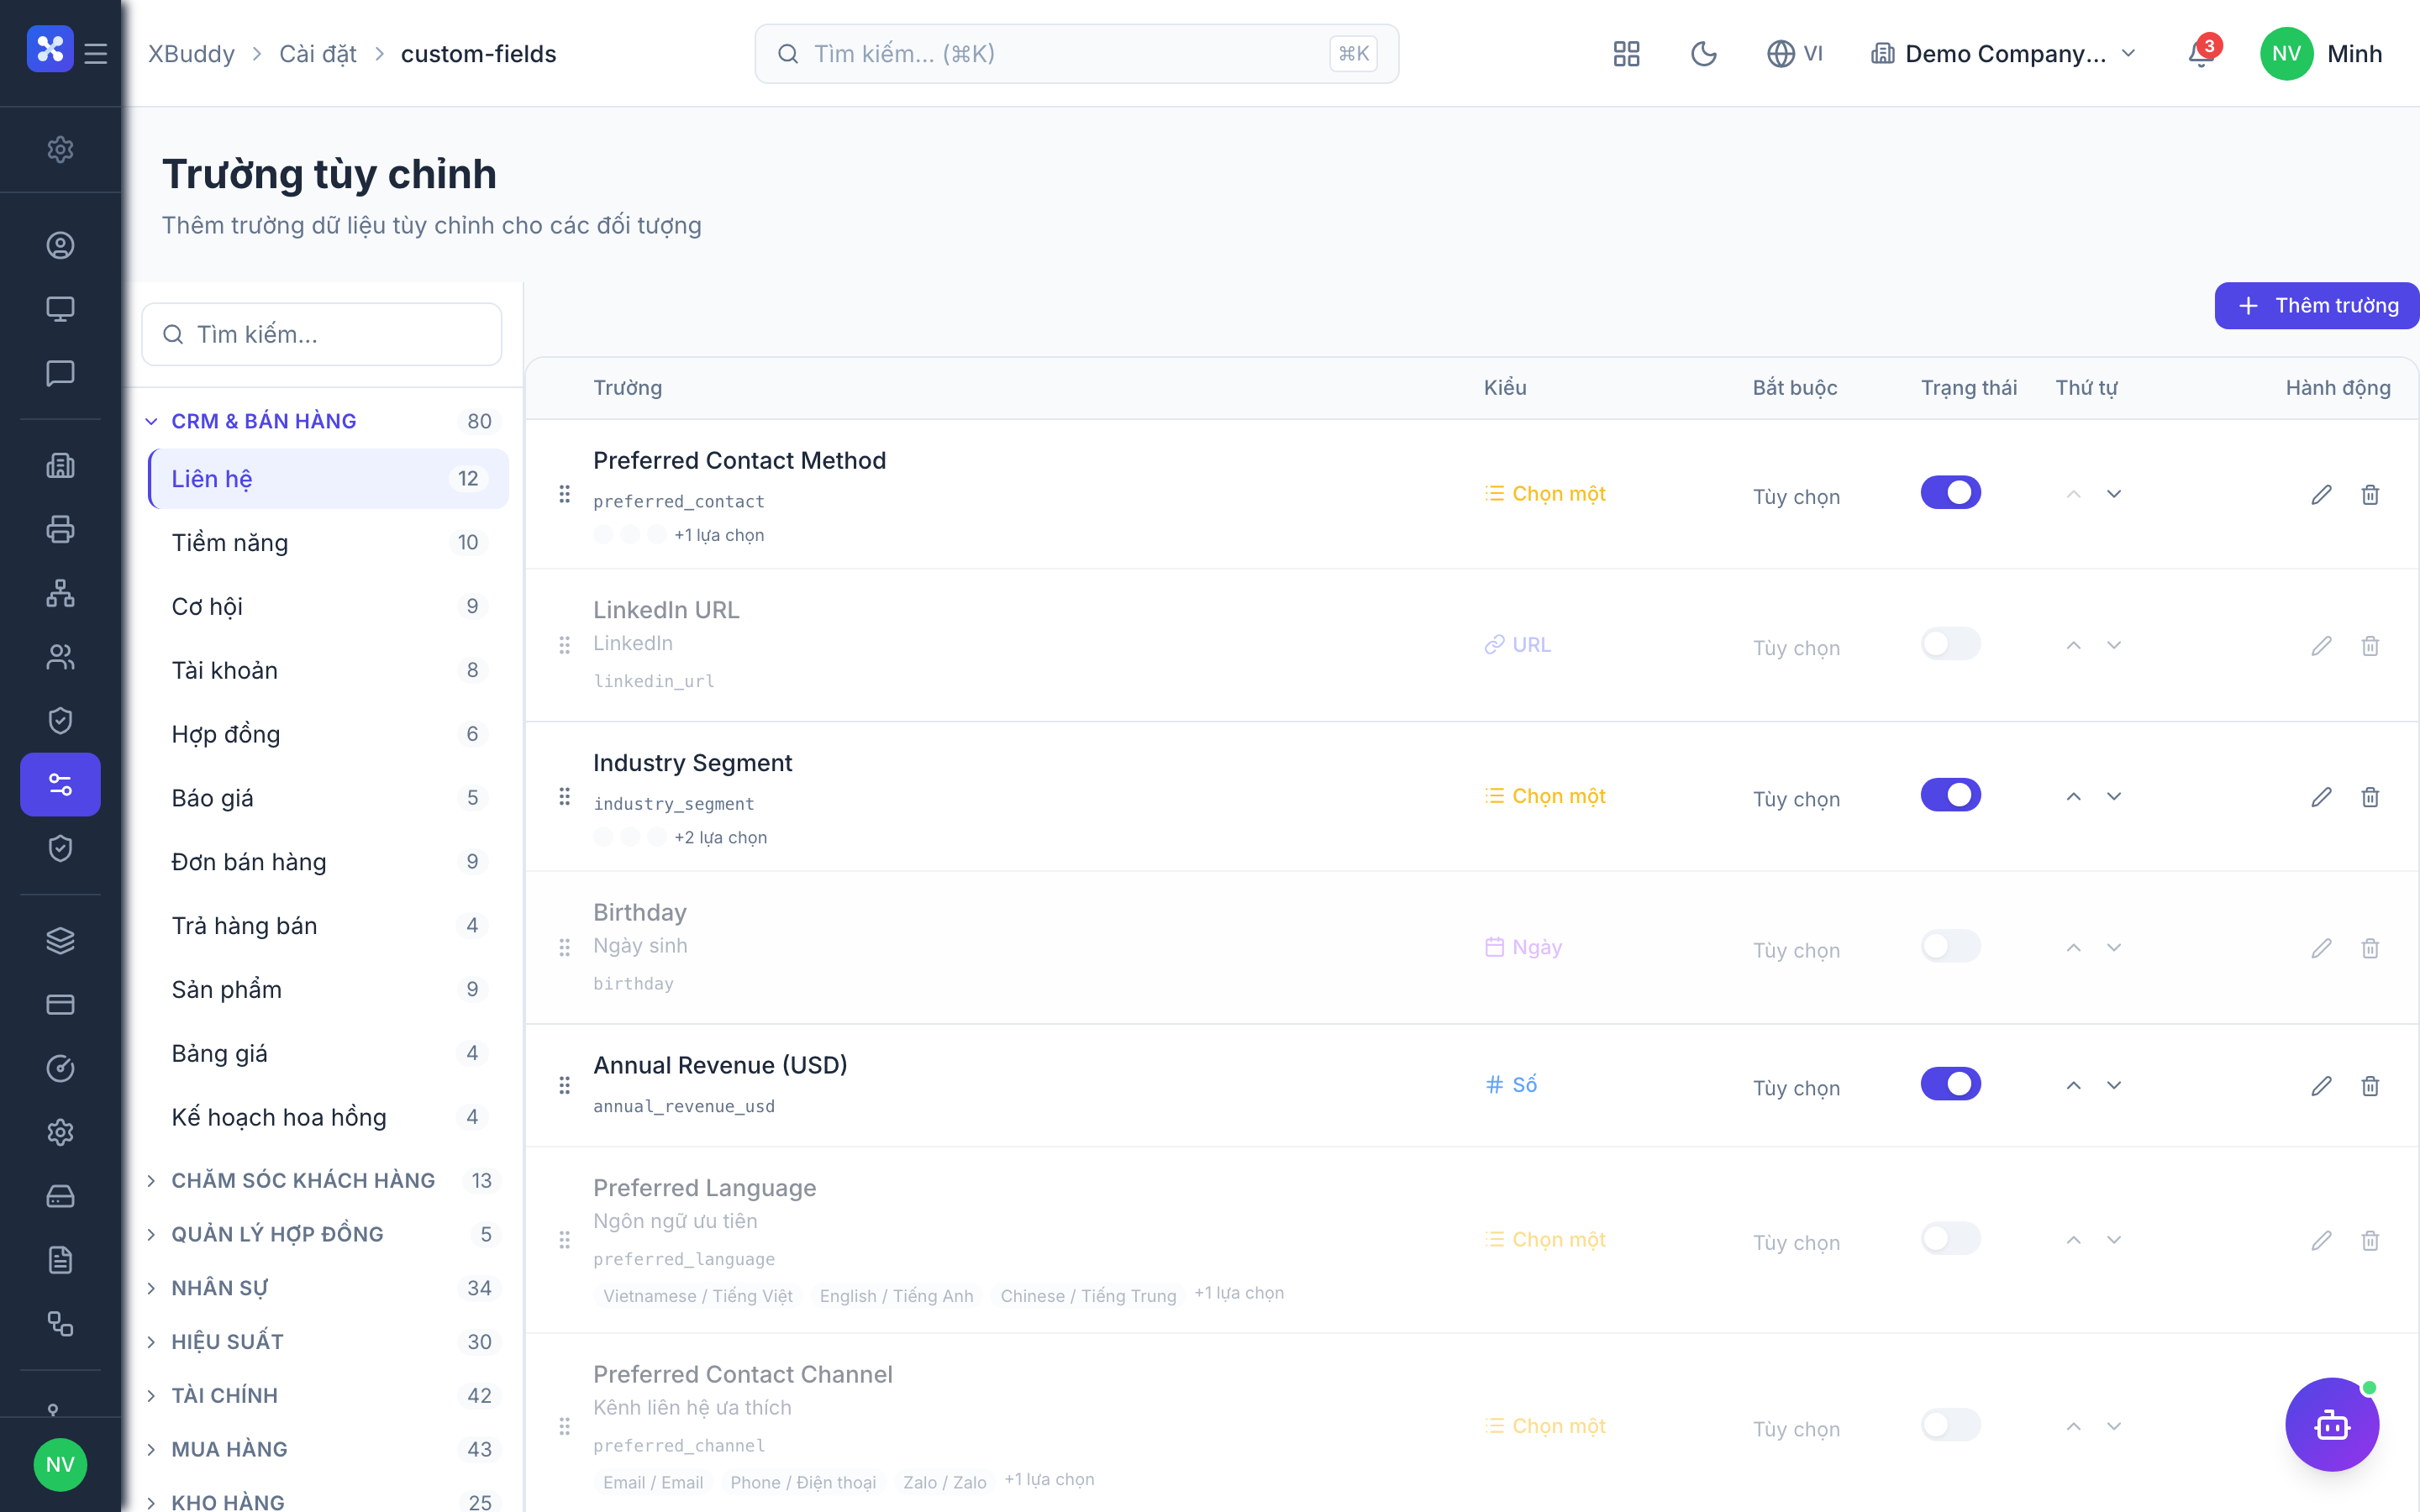
Go to Settings → Custom Fields (/settings/custom-fields).
Choose the entity type
Select the entity you want to extend — for example Contact — from the entity selector. The list below shows any fields already defined for that entity.
Add a new field
Click Add Field. Fill in:
- Key — an internal identifier (lowercase, no spaces), e.g.
preferred_channel. - English label and Vietnamese label.
- Type — text, number, date, select, or boolean.
- Options — only for
select; enter one option per line.
Set validation
Toggle Required if the field is mandatory. For number fields set Min/Max; for text set length limits.
Save
Save the field. It appears immediately in the create/edit form for that entity — no deployment or restart needed.
Where custom fields appear
Once defined, fields render through the shared CustomFieldsSection component in:
- The entity’s create form.
- The entity’s edit form.
- The entity’s detail page (in a collapsible “Custom Fields” block).
- CSV export and reports, as additional columns.
On transaction detail pages the custom-fields block is collapsible with a Show more / Show less toggle so a long list of fields doesn’t dominate the page.
Editing and removing fields
- Editing a label or validation takes effect immediately for all future edits.
- Changing a field’s type after data exists is discouraged — existing values may not fit the new type. Prefer creating a new field.
- Removing a field hides it from forms. Historical values already saved on records remain in storage but stop displaying.
Making an existing field Required does not retroactively fill in past records — it only blocks saving records that are edited from now on. Backfill important fields before enforcing Required.
Best practices
- Keep keys stable and descriptive; you’ll see them in exports and integrations.
- Prefer Select over free Text when the values are a known list — it keeps data clean and reportable.
- Fill in both language labels every time, even if your team is mono-lingual today.
- Group related fields by defining them in a sensible order — they render in the order created.